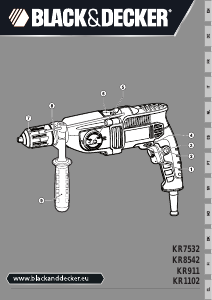
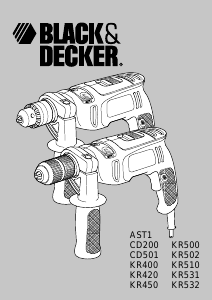
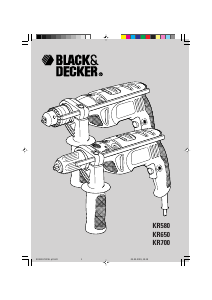
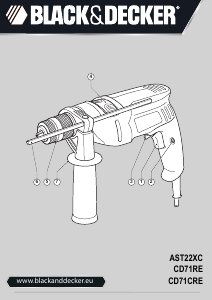
Manual de uso Black and Decker KR70LSR Taladradora de percusión
¿Necesita un manual para su Black and Decker KR70LSR Taladradora de percusión? A continuación puedes ver y descargar el manual en PDF gratis en español. Este producto actualmente tiene 3 preguntas frecuentes, 0 comentarios y tiene 0 votos. Si este no es el manual que desea, , contáctenos.
¿Su producto tiene algún defecto y el manual no ofrece ninguna solución? Vaya a Repair Café para solicitar un servicio de reparación gratuito.
Manual de uso
Loading…


Loading…
Puntuación
Dé su opinión de la Black and Decker KR70LSR Taladradora de percusión calificando el producto. ¿Quiere compartir su experiencia con este producto o hacer una pregunta? Deje un comentario en la parte inferior de la página.Más sobre este manual
Entendemos que es bueno tener un manual en papel para tus Black and Decker KR70LSR Taladradora de percusión. Siempre puedes descargar el manual desde nuestro sitio web e imprimirlo tú mismo. Si deseas tener un manual original te recomendamos contactar con Black and Decker. Es posible que puedan proporcionar un manual original. ¿Estás buscando el manual de tu Black and Decker KR70LSR Taladradora de percusión en otro idioma? Elija su idioma preferido en nuestra página de inicio y busque el número de modelo para ver si lo tenemos disponible.
Especificaciones
| Marca | Black and Decker |
| Modelo | KR70LSR |
| Categoría | Taladradoras de percusión |
| Tipo de archivo | |
| Tamaño del archivo | 0.75 MB |
Todos los manuales para Black and Decker Taladradoras de percusión
Más manuales de Taladradoras de percusión
Preguntas frecuentes sobre Black and Decker KR70LSR Taladradora de percusión
Nuestro equipo de atención al cliente busca información útil sobre los productos y responde a las preguntas frecuentes. Si encuentra inexactitudes en las preguntas frecuentes, indíquenoslo usando nuestro formulario de contacto.
¿Cuál es la diferencia entre un taladro de impacto y un martillo perforador? Verificado
Los taladros de impacto se pueden utilizar para hacer agujeros en paredes de ladrillos y mortero. Para perforar agujeros en paredes de hormigón se necesita un martillo perforador.
Ha sido de gran ayuda (133) Leer más¿Necesito usar protección auditiva cuando utilizo un taladro? Verificado
Si deberías. Aunque la cantidad de ruido producido por un taladro puede variar entre marcas y modelos, la exposición prolongada a ruidos fuertes puede causar daños auditivos permanentes. Por eso es una buena idea usar protección auditiva.
Ha sido de gran ayuda (23) Leer más¿Puedo guardar herramientas eléctricas en un cobertizo o garaje? Verificado
En general, las herramientas eléctricas se pueden guardar en un cobertizo o en un garaje, aunque a veces haga frío allí. Sin embargo, para prolongar la vida útil de la herramienta eléctrica, es mejor guardarla en un lugar seco y sin grandes fluctuaciones de temperatura. En un cobertizo o garaje, las diferencias de temperatura pueden provocar la formación de condensación, lo que puede provocar oxidación. Además, las herramientas que funcionan con baterías duran menos y no se cargan tan bien a temperaturas muy bajas. Para estar seguro de cómo debe almacenarse su herramienta eléctrica, lea siempre detenidamente el manual del usuario.
Ha sido de gran ayuda (8) Leer más
Únase a la conversación sobre este producto
Aquí puedes compartir lo que piensas sobre Black and Decker KR70LSR Taladradora de percusión. Si tiene alguna pregunta, primero lea atentamente el manual. Puede solicitar un manual utilizando nuestro formulario de contacto.