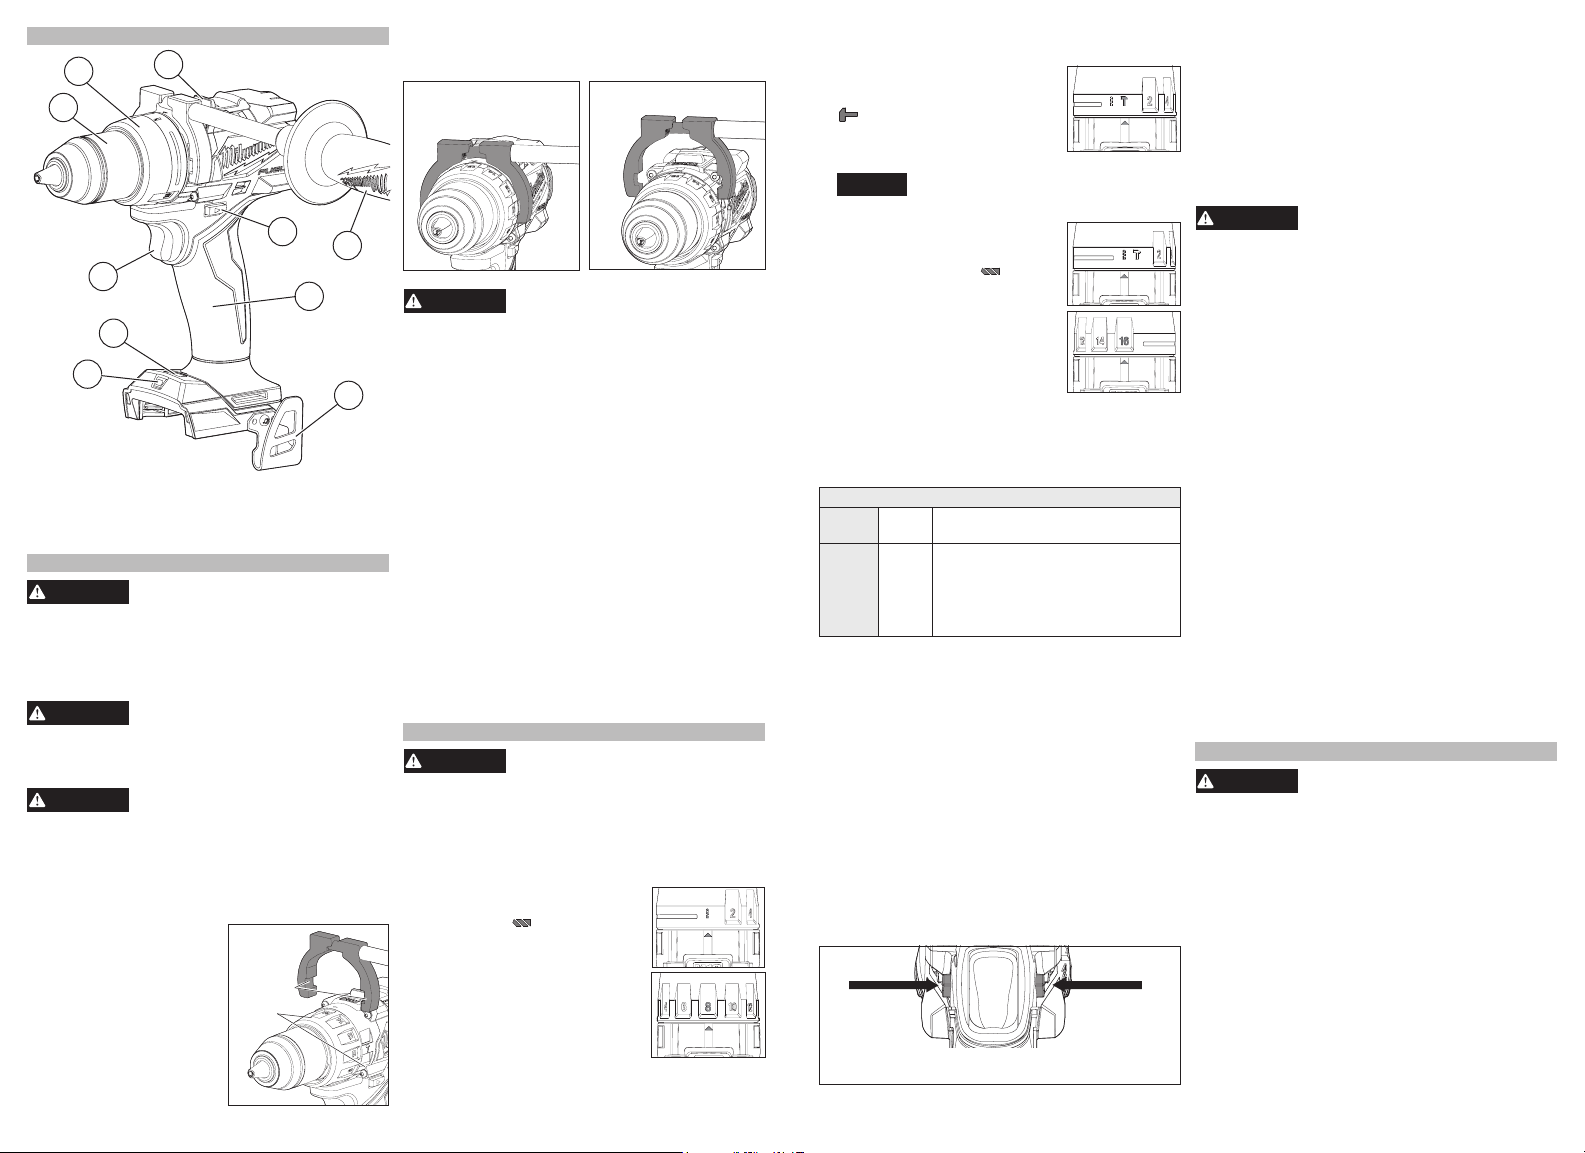
4
5
2. To remove the side handle, loosen the side handle
grip until the side handle can be removed. Reposi-
tion and tighten securely.
Correct
Incorrect
Always remove battery pack before
changing or removing accesso-
ries. Only use accessories specically recom-
mended for this tool. Others may be hazardous.
Installing Bits
Always remove the battery before inserting or remov-
ing bits. Select the proper style and size bit for the job.
This tool is equipped with a spindle lock. The chuck
can be tightened with one hand, creating higher grip
strengths on the bit.
1. To open the chuck jaws, turn the sleeve in the
counterclockwise direction.
When using drill bits, allow the bit to strike the
bottom of the chuck. Center the bit in the chuck
jaws and lift it about 1/16" o of the bottom.
When using screwdriver bits, insert the bit far
enough for the chuck jaws to grip the hex of the bit.
2. To close the chuck jaws, turn the sleeve in the
clockwise direction. The bit is secure when the
chuck makes a ratcheting sound and the sleeve
can not be rotated any further.
3. To remove the bit, turn the sleeve in the counter-
clockwise direction.
NOTE: A ratcheting sound may be heard when the
chuck is opened or closed. This noise is part of the
locking feature, and does not indicate a problem with
the chuck’s operation.
OPERATION
To reduce the risk of injury, always
wear proper eye protection marked
to comply with ANSI Z87.1.
When working in dusty situations, wear appro-
priate respiratory protection or use an OSHA
compliant dust extraction solution.
Selecting Drill or Drive Action
(Cat. No. 2903-20)
1. To use the drilling mode, rotate
the torque selector collar until the
drill symbol appears in line
with the arrow.
2. To use the driving mode rotate
the torque selector collar until the
desired clutch setting appears in
line with the arrow.
The adjustable clutch, when
properly adjusted, will slip at a
preset torque to prevent driving
the screw too deep into dierent
materials and to prevent damage to the screw or
tool.
Selecting Hammer, Drill or Drive Action
(Cat. No. 2904-20 )
1. To use the hammer-drilling
mode, rotate the torque selector
collar until the hammer symbol
appears in line with the ar-
row. Apply pressure to the bit to
engage the hammering mecha-
nism.
When using carbide bits, do not use
water to settle dust. Do not attempt
to drill through steel reinforcing rods. This will
damage the carbide bits.
2. To use the drilling only mode,
rotate the torque selector collar
until the drill symbol appears
in line with the arrow.
3. To use the driving screws
mode, rotate the torque selector
collar until the desired clutch set-
ting appears in line with the
arrow.
The adjustable clutch, when
properly adjusted, will slip at a
preset torque to prevent driving the screw too deep
into dierent materials and to prevent damage to
the screw or tool.
The torque specications shown here are approximate
values obtained with a fully charged battery pack.
TORQUE SPECIFICATIONS
Clutch
Setting
in. lbs Applications
1-4
5-8
9-12
13-16
15-27
31-42
47-60
63-75
Small screws in softwood.
Medium screws in softwood
or small screws in hardwood.
NOTE: Because the settings shown in the table are
only a guide, use a piece of scrap material to test
the dierent clutch settings before driving screws
into the workpiece.
Selecting Speed
The speed selector is on top of the motor housing.
Allow the tool to come to a complete stop before
changing speeds. See “Applications” for recom-
mended speeds under various conditions.
1. For Low speed, push the speed selector to display
“1”.
2. For High speed, push the speed selector to display
“2”.
Using the Control Switch
The control switch may be set to three positions:
forward, reverse and lock. Always allow the motor
to come to a complete stop before using the control
switch to avoid damage to the tool.
Forward
LOCK
Push to CENTER
Reverse
FUNCTIONAL DESCRIPTION
1. LED
2. AUTOSTOP™ light
3. Trigger
4. Keyless chuck
5. Torque selector collar
6. Speed selector
7. Side handle
3
4
5
6
8
1
7
9
10
8. Control switch
9. Handle
10. Belt hook
2
ASSEMBLY
Recharge only with the charger
specied for the battery. For spe-
cic charging instructions, read the operator’s
manual supplied with your charger and battery.
Removing/Inserting the Battery
To remove the battery, push in the release buttons
and pull the battery pack away from the tool.
Always lock the trigger or remove
the battery pack any time the tool
is not in use.
To insert the battery, slide the pack into the body
of the tool. Make sure it latches securely into place.
Only use accessories specically
recommended for this tool. Others
may be hazardous.
To reduce the risk of injury, always use a side
handle when using this tool. Always brace or
hold securely. Ensure side handle is tightened
securely before each use.
Installing the Side Handle
1. To install the side handle,
Hooks
Slots
loosen the side handle
grip until the hooks are far
enough apart to t into the
slots on the gear case
ring. Position the side
handle on the top, pointing
to the left or right. Tighten
the side handle grip until
it is secure.
1. For forward (clockwise) rotation, push in the con-
trol switch from the right side of the tool. Check
the direction of rotation before use.
2. For reverse (counterclockwise) rotation, push in
the control switch from the left side of the tool.
Check direction of rotation before use.
3. To lock the trigger, push the control switch to the
center position. The trigger will not work while
the control switch is in the center locked position.
Always lock the trigger or remove the battery pack
any time the tool is not in use.
To reduce the risk of injury, always
hold or brace securely.
Starting, Stopping and Controlling Speed
1. To start the tool, grasp the handle(s) rmly and
pull the trigger.
NOTE: An LED is turned on when the trigger is
pulled and will go o shortly after the trigger is
released.
2. To vary the speed, increase or decrease the pres-
sure on the trigger. The further the trigger is pulled,
the greater the speed.
3. To stop the tool, release the trigger. Ensure the
tool has come to a complete stop before laying
the tool down.
Selecting AUTOSTOP™ Mode
The AUTOSTOP™ helps prevent over rotation in
the case of bit binding. The tool is shipped with
AUTOSTOP™ mode already turned on.
1. To turn AUTOSTOP™ mode o, push the control
switch to the center position. Pull the trigger ve
times. The AUTOSTOP™ light will light, then dim
until it is o. This indicates it has been disabled.
2. To turn AUTOSTOP™ mode on, push the control
switch to the center position. Pull the trigger ve
times. The AUTOSTOP™ light will ash to indicate
that the mode has been enabled.
3. AUTOSTOP™ mode can be checked by rotat-
ing the tool with your hand to test the feature. If
AUTOSTOP™ mode is on, the AUTOSTOP™ light
will ash and the tool will shut o.
NOTE: AUTOSTOP™ mode will remain in the last-
selected mode regardless of battery change or state
of charge, until changed by the operator.
APPLICATIONS
To reduce the risk of electric shock,
check work area for hidden pipes
and wires before drilling or driving screws.
Drilling
Place the bit on the work surface and apply rm pres-
sure before starting. Too much pressure will slow the
bit and reduce drilling eciency. Too little pressure
will cause the bit to slide over the work area and dull
the point of the bit.
If the tool begins to stall, reduce pressure slightly to
allow the bit to regain speed. If the bit binds, reverse
the motor to free the bit from the workpiece.


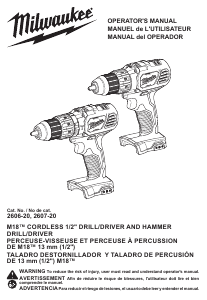
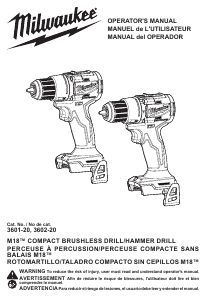
Únase a la conversación sobre este producto
Aquí puedes compartir lo que piensas sobre Milwaukee 2903-20 Atornillador taladrador. Si tiene alguna pregunta, primero lea atentamente el manual. Puede solicitar un manual utilizando nuestro formulario de contacto.