6 7
Section 2: Installation
Required Tools
• Phillips Screwdriver
• Wire Strippers
1. Select a Location
When choosing a location for your timer, consider the
following:
• Choose a location near an electrical outlet.
• Ensure operating temperatures are not below 32° or
above 158° Fahrenheit (below 0° Celsius or above 70°
Celsius).
• Locate the timer where there is easy access to sprinkler
wire (from valves).
2. Mount the Timer
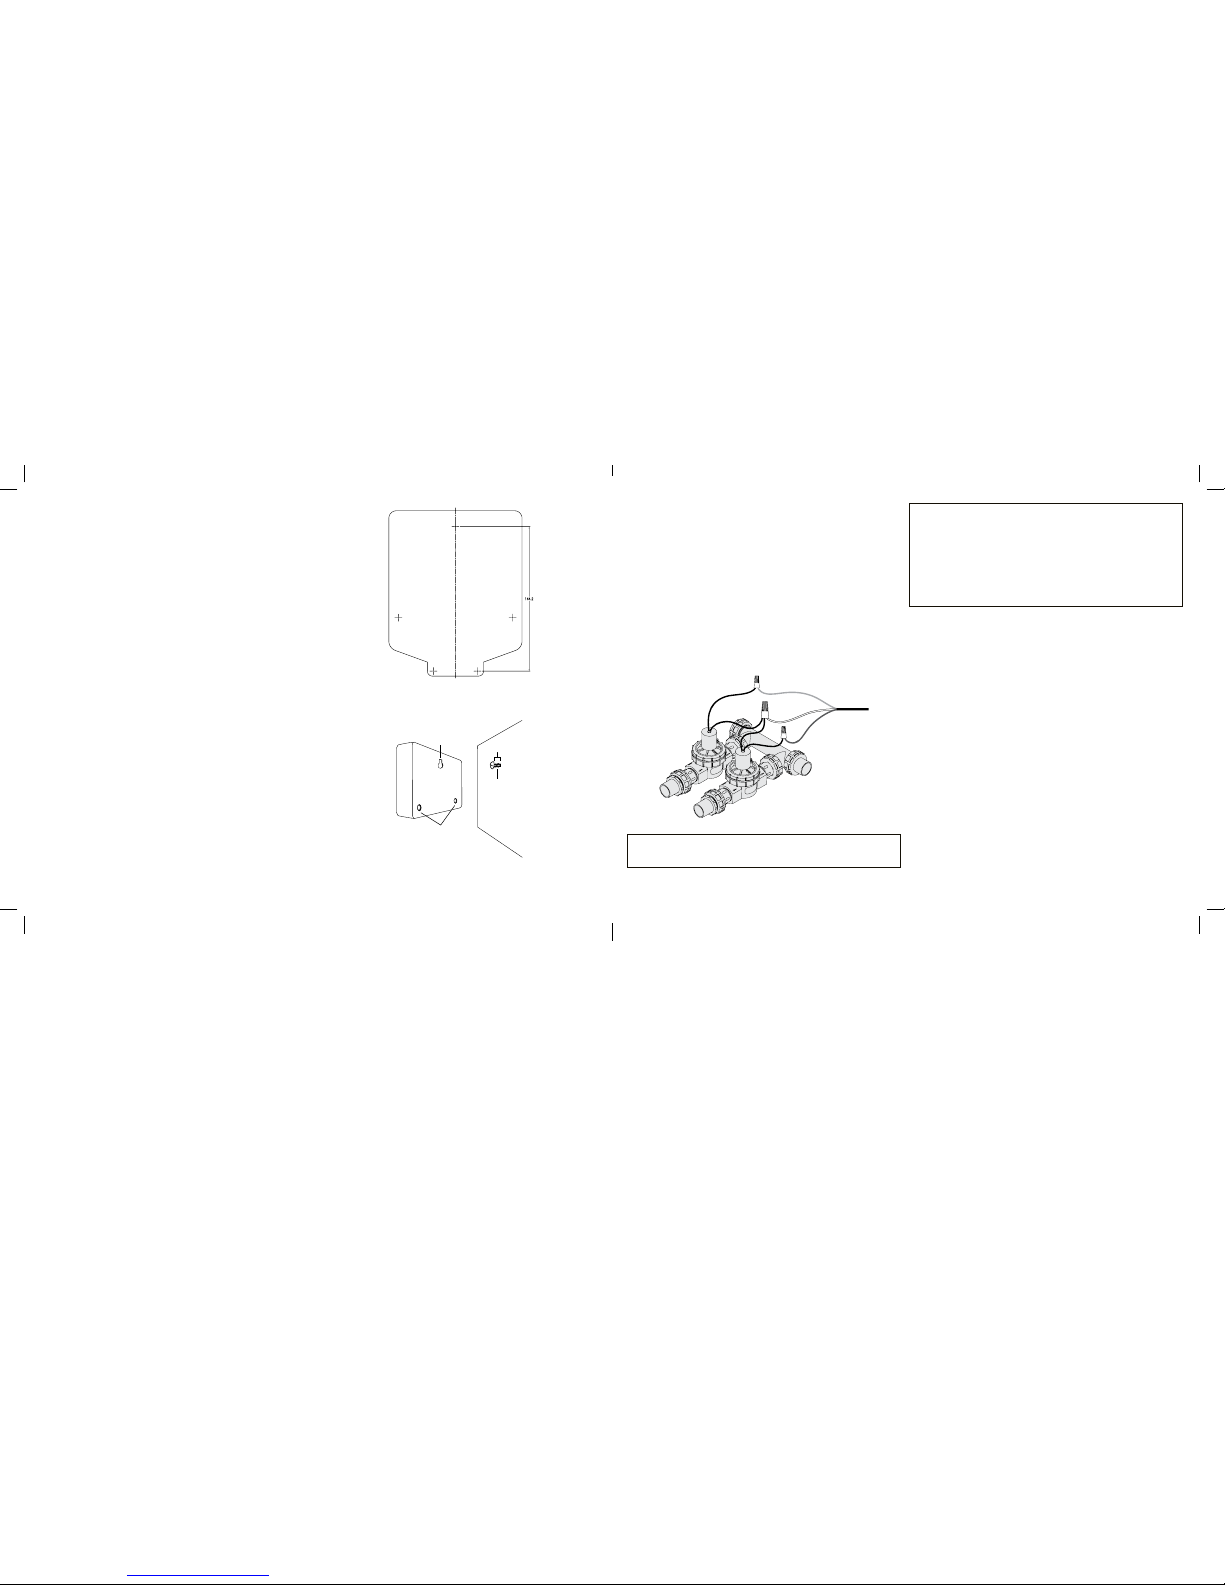
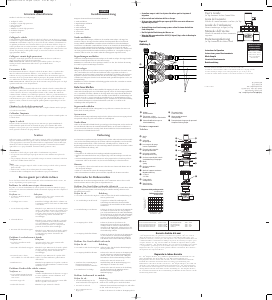
• Use the mounting template (included) to mark the
mounting screw location on the wall. See figure 1
• Install a No. 8 screw into wall in the upper template
location. Leave the screw head protruding 1/8” (3mm)
from wall. Use expanding anchors (included) in plaster
or masonry, if necessary, for a secure hold.
• Slip the timer over protruding screw (using keyhole slot
in back of timer). See figure 2
• Drive a No. 8 screw through one of the two pre-formed
holes located in lower corners of the cabinet. See figure
2
3. Connect Valve Wires to Timer
• Strip 1/2” (12 mm) of the plastic insulation off the
end of each wire for both the timer wires and the
valve wires.
• Connect one wire from each valve (it doesn’t
matter which wire) to a single “Common”
sprinkler wire (usually white).
• Connect the remaining wire from each valve to a
separate colored sprinkler wire.
See figure 3
Note: The maximum loading for each station/pump is 250mA
(one valve), the maximum loading for the timer is 500mA.
Figure 2: Hang timer on screw using keyhole
Keyhole
Pre-formed
mounting holes
No. 8 Screw
Wall
3 mm
Figure 1: Use Mounting Template (included)
Figure 3:
Wiring Electric Valves
If more than one valve is connected to a station the timer will
be permanently damaged.
If the distance between the sprinkler timer and valves is
under 700’ (210 m), use Orbit
®
sprinkler wire or 20 gauge
(AWG) plastic jacketed thermostat wire to connect the
sprinkler timer to the valves. If the distance is over 700’ (210
m), use 16 gauge (AWG) wire.
Important: All wires should be joined together using wire
nuts, solder, and/or vinyl tape. In wet environments like a
valve box it is recommended to use Orbit Grease Caps or
Speed Seals to prevent corrosion of the connection and for
protection from water infiltration.
Wiring Electric Valves
Strip 1/2” (12 mm) of plastic insulation off the end of
each individual wire. Each valve has two wires. One
wire (it doesn’t matter which one) is to be connected as
the common. The other valve wire is to be connected
to the specific station wire that will control that valve.
The common wires for all the valves can be connected
together to one common wire going to the controller.
To avoid electrical hazards and damage to the timer,
only one valve should be connected to each station. See
Figure 4
Important: The wire can be buried in the ground; however,
for more protection wires can be pulled through PVC pipe
and buried underground. Be careful to avoid burying the
wires in locations where they could be damaged by digging
or trenching in the future.
Solenoid
Wire Nut
To Timer
Valve
Common
Wire


Únase a la conversación sobre este producto
Aquí puedes compartir lo que piensas sobre Orbit 94876 Contador de agua. Si tiene alguna pregunta, primero lea atentamente el manual. Puede solicitar un manual utilizando nuestro formulario de contacto.