- 13 -- 12 -
These hot air tools are doubly protected from
overheating:
1. A thermostat switches the heater off if too much of the air
outlet nozzle is obstructed (heat build-up). However, the
blower continues to run. A warning triangle on the display
tells you that the heater is switched off.
Once the air delivery nozzle is clear again, the heater
automatically switches back on again after a few
moments. The warning triangle then goes out. The
thermostat may also respond after switching the hot air
tool off, taking it longer than usual to reach temperature
at the air delivery nozzle when it is switched on again. *
2. The thermal cut-out completely shuts down the tool
if it is overloaded. **
* for HG 2320 E only
** HG 2120 E / HG 2320 E
For your safety
Tool description - Operation
Please note: The distance from the object you are working
on depends on material and intended method of working.
Always try out the airflow and temperature on a test piece
first. Using the attachable accessory nozzles (see acces-
sories page on the cover) the flow of hot air can be con-
trolled with maximum precision.
Take care when changing hot nozzles! When using
the hot air tool in the self-resting position, make sure it is
standing on a stable, non-slip and clean surface.
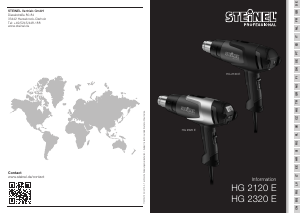
HG 2120 E
The tool is switched on and off at the two-stage switch (7)
on the back of the grip handle. In addition to three-stage
speed/airflow control (stage 1 is a cooling stage at 80 °C ),
temperature can be continuously adjusted over a range of
80 °C – 630 °C in settings 2 and 3 at the thumbwheel (8).
The numbers 1 - 9 on the thumbwheel serve as a guide
only. Whereas "1" means 80 °C, the maximum temperature
of 630 °C is attained at "9". Airflow can be adjusted to the
three stages of 150 / 150-300 / 300 -500 l/min. The guard
sleeve (3) detaches at a bayonet catch.
Switching ON causes brief voltage drops. If the mains
power supply system is not absolutely stable, other
equipment may be affected. No disturbance is likely to
occur with mains impedances of less than 0.43 ohms.
HG 2320 E
1. Operation
The tool is switched on and off at a two-stage switch (7)
on the back of the grip handle. The joystick (9) is used for
controlling temperature and airflow or fan speed.
2. Setting temperature
Stage 1 is the cooling stage, temperature is always 80 °C.
Use the cooling function for drying paint, cooling workpieces
or for cooling the nozzle before changing the accessory at-
tachment. In stage 2 temperature can be infinitely varied
over a range of 80 °C - 650 °C on the control panel with
LCD display. The actual temperature is measured at the
nozzle outlet and indicated on the display. The joystick (9)
is used as an input button with plus/minus function. The
temperature setting range begins at 80 °C and ends at a
maximum of 650 °C.
Briefly pressing the "+/–" joystick increases or reduces the
temperature setting in 10° steps. Keeping the joystick
pressed speeds up the temperature setting process. Once
the temperature has been set, the tool takes a few seconds
to reach temperature (depending on speed/airflow). The
temperature setting selected is shown on the display for
3 seconds. The display then shows the current actual
temperature. The "°C/°F" symbol continues to flash until
the selected temperature is reached.
If you want to alter the setting, simply press the joystick
again to increase or reduce the temperature. After switching
off, the hot air tool stays in the last setting.
3. Setting airflow rate
To change the airflow rate, first press the "airflow" button;
the fan symbol flashes. Now use the joystick to set the air-
flow rate. The airflow rate setting mode automatically closes
if the airflow rate setting is not changed within 5 sec. Press-
ing the airflow button again after setting the airflow rate
immediately closes the airflow rate setting mode. The airflow
rate can be varied from a minimum of 150 l/min to a maxi-
mum of 500 l/min.
4. Programming mode [P]
Besides normal operating mode, the HG 2320 E also has
four factory-set programs for the most frequent jobs. Four
programs are factory-set for the most common types of
work. Press button "P" for programming mode (11).
Number 1 is displayed for program 1. Continuing to press
the program button will take you to programs 2-4. Pressing
the button again will return the tool to normal operation. See
page 3.
Preset programmes
5. Memory function [S] (HG 2320 only)
The values selected for the four programmes can be
changed and memorised at any time. To do this, first press
the program button "P" (11) until the display shows the
program you wish to change. Set the temperature and
airflow rate you require. Memory symbol
on the LCD
flashes to indicate that the user programme selected has
been changed. To memorise this setting in the user pro-
gramme selected, press and hold down the programme
selector button. The memory symbol continues to flash for
approx. 2 sec. The settings entered are saved once the
memory symbol stays on all the time. To return to normal
operation, press the program button until the program
symbol disappears from the display. To return to normal op-
eration, press the program button until the program symbol
disappears from the display. See page 3.
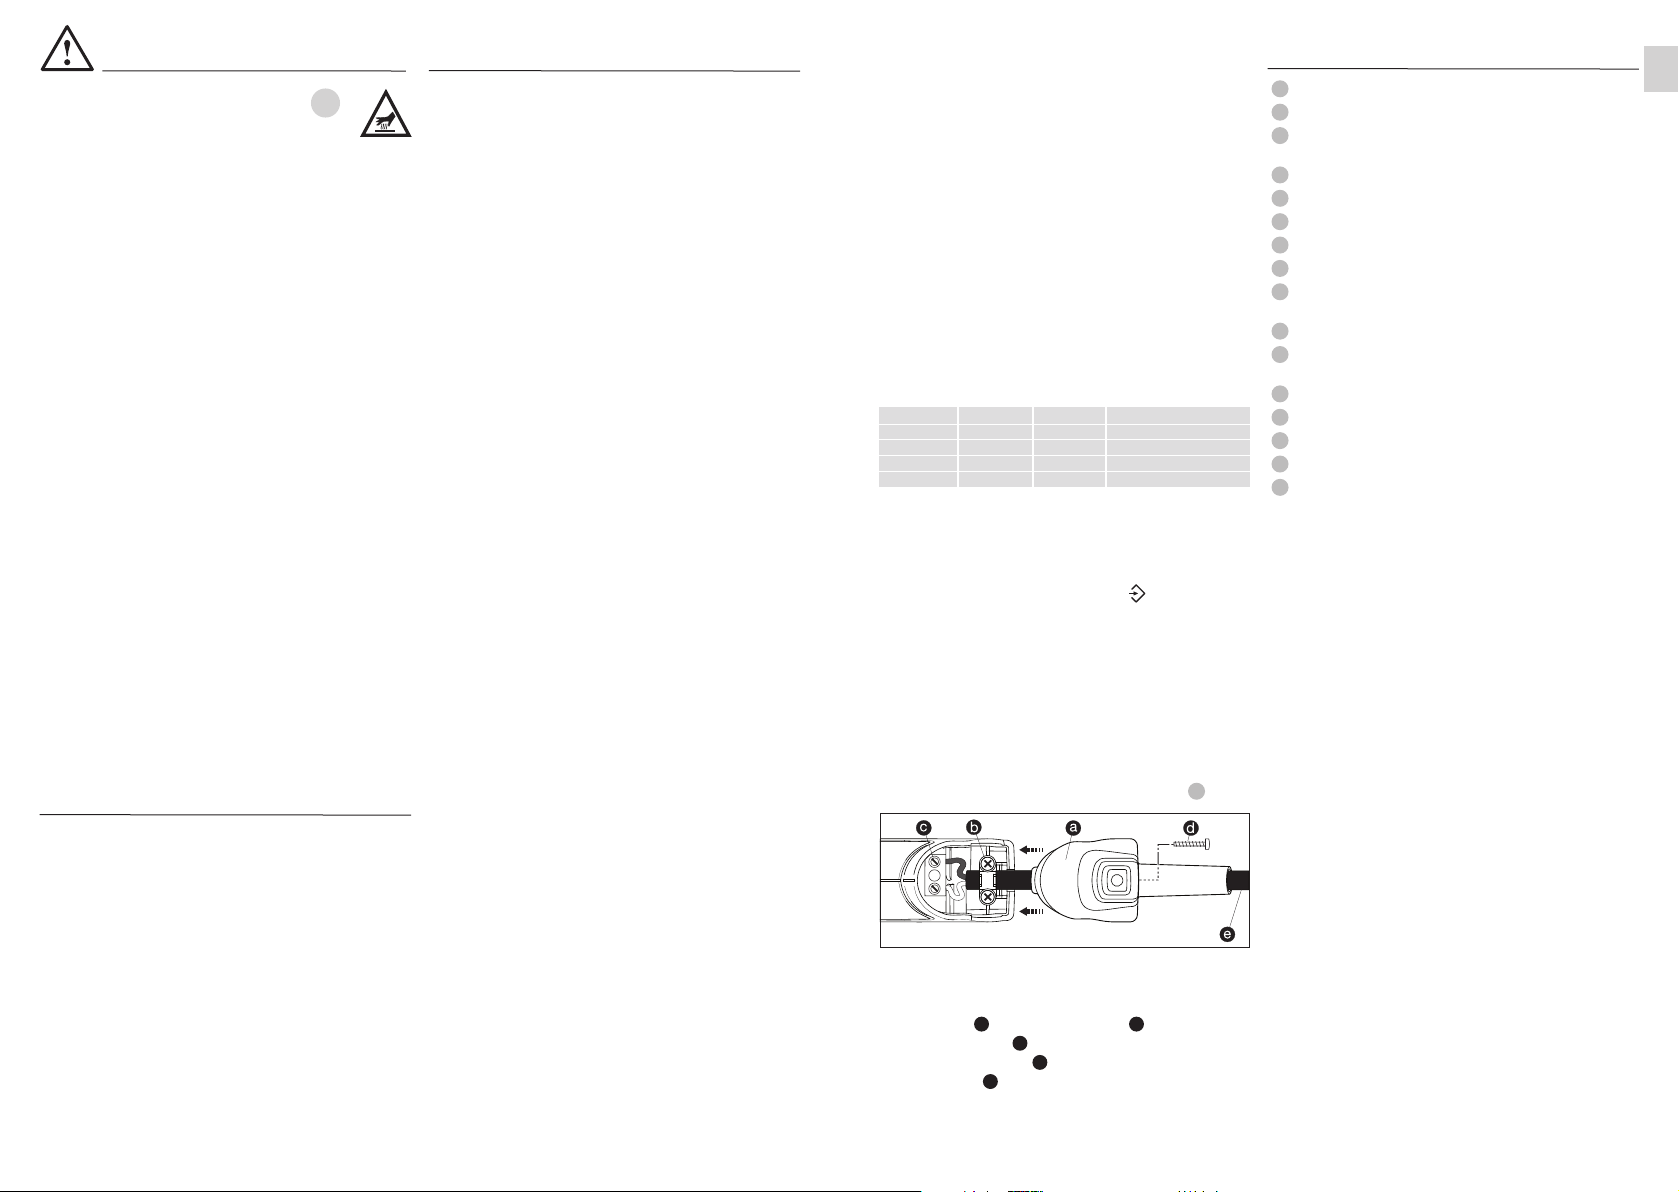
6. Changing the power cord (HG 2320 E only)
If the power cord is damaged, it can easily be changed
without opening the casing.
1. Important! Disconnect tool from power supply.
2. Undo screw and pull off cover cap .
3. Release cable grip
.
4. Undo mains terminals .
5. Pull out cable .
6. Insert new cable and secure in reverse order
(1. Firmly screw down mains terminals etc.).
16
d
a
b
c
e
Programme Temp. °C Air l/min Application
1 250 approx. 350 Shaping plastic pipes
2 350 approx. 400 Welding plastics
3 450 approx. 500 Paint stripping
4 550 approx. 400 Soft soldering:
Tool features
Stainless steel outlet nozzle
Air inlet with lattice guard keeps out foreign matter
Removable guard sleeve
(for places that are hard to reach)
Soft stand
Soft end cap
Heavy-duty rubber-insulated power cord
Multiple-stage switch (2-stage/3-stage)
Thumbwheel for setting temperature
Joystick (for setting airflow rate and temperature)
(HG 2320 E only)
Button for airflow rate mode (HG 2320 E only)
Programme selector button and memory button
(HG 2320 E only)
LED indicator for monitoring temperature
Soft grip handle for comfortable operation
Hanging loop
Residual heat indicator (HG 2320 E only)
Replaceable mains power cord (HG 2320 E only)
1
12
13
14
15
2
3
4
6
7
8
10
11
5
9
16
GB
Safety warnings
Residual heat indicator
(HG 2320 E only)
The residual heat indicator serves
as a visual warning to prevent in-
jury from direct contact with the
hot nozzle outlet. The residual heat
indicator also works when the tool
is unplugged. The indicator starts
working after the tool has been in
use for 90 seconds and keeps
flashing until the temperature at
the nozzle outlet has fallen below
60 °C at room temperature. The
residual heat indicator does not
show if the tool has been in opera-
tion for less than 90 seconds.
Responsibility always rests with the
user as care must be taken at all
times when handling hot air tools.
Keep these safety precautions
with the tool.
15


Únase a la conversación sobre este producto
Aquí puedes compartir lo que piensas sobre Steinel HG 2320 E Decapador por aire caliente. Si tiene alguna pregunta, primero lea atentamente el manual. Puede solicitar un manual utilizando nuestro formulario de contacto.